Understanding Drywall Painting Basics
Drywall painting is an essential skill for homeowners and DIY enthusiasts alike, enabling you to create beautiful living spaces and a polished finish on your walls. This guide will cover everything you need to know about drywall painting, from the basics to advanced techniques, ensuring your project turns out flawless.
What is Drywall Painting?
Drywall painting refers to the process of applying layers of paint to drywall surfaces, which are made of gypsum board. This type of painting not only enhances the aesthetic quality of a room but also serves protective and functional purposes. Freshly installed or repaired drywall requires proper preparation and treatment to yield a durable and visually appealing finish.
Essential Tools for Drywall Painting
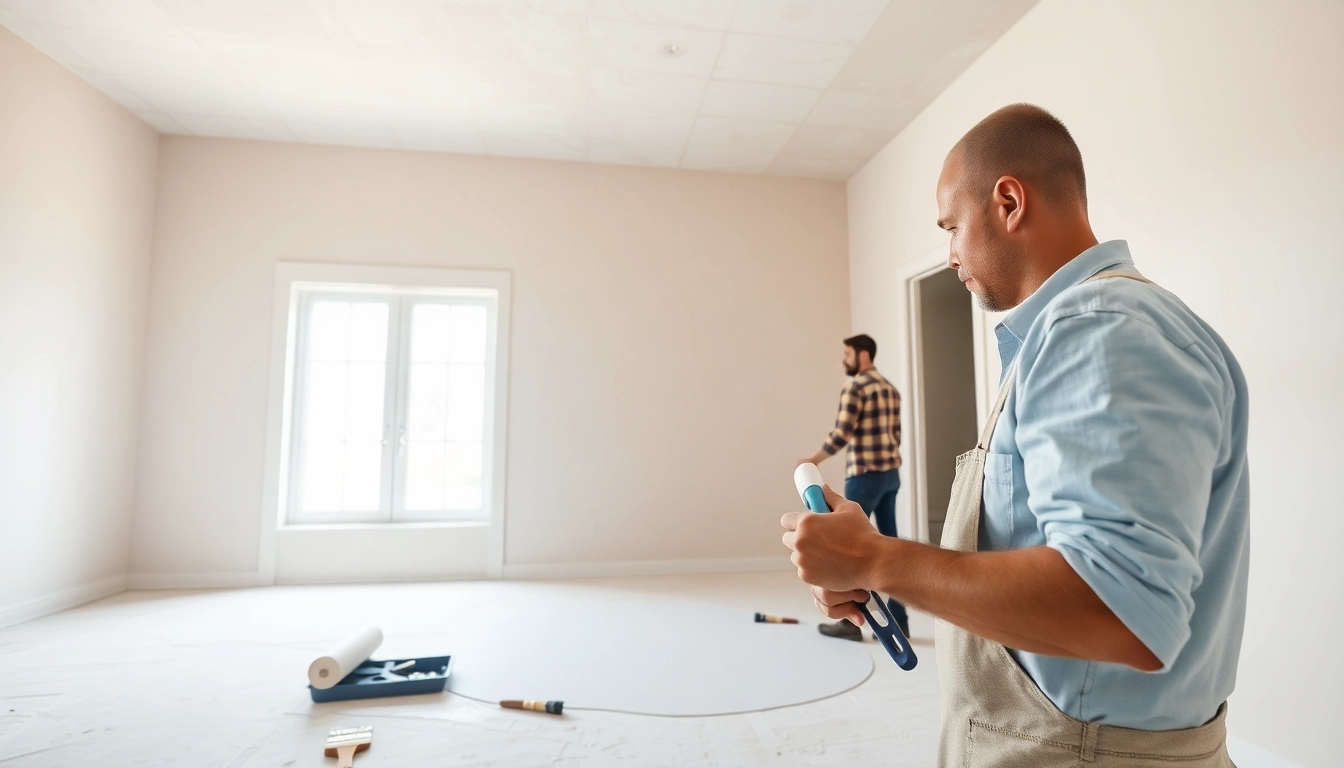
Before diving into a drywall painting project, gather the following essential tools:
- Paint Brushes: For edges and corners, use a quality angled brush.
- Paint Rollers: A roller is ideal for covering large wall areas quickly.
- Trim Tools: A putty knife and sanding block will help smooth out imperfections.
- Drop Cloths: Protect your floors and furniture from paint splatters.
- Paint Tray: For holding your paint while using a roller.
- Primer: Necessary for achieving optimal paint adhesion.
- Painter’s Tape: For clean lines and protection of edges.
Common Paint Types for Drywall
Choosing the right type of paint is crucial for success:
- Acrylic Paint: Offers great durability and is suitable for high moisture areas.
- Latex Paint: Water-based and best for indoor use, it dries quickly and cleans up easily.
- Flat Finish Paint: Perfect for hiding imperfections, especially for ceilings.
- Semi-Gloss and High-Gloss Paint: Ideal for areas that require a wipeable surface, such as kitchens and bathrooms.
Preparing Your Drywall for Painting
Steps for Proper Drywall Preparation
Proper preparation is essential for achieving a high-quality finish. Follow these steps:
- Clear the Area:
- Inspect the Drywall:
- Sand the Surface:
- Clean the Walls:
- Apply Primer:
Remove furniture and cover floors.
Check for any imperfections, such as holes or dents.
Use fine-grit sandpaper to smooth out any rough areas.
Remove dust with a damp cloth or a vacuum.
Use a roller for large areas and a brush for corners. Allow it to dry completely.
Importance of Priming Before Paint Application
Priming is a critical step in drywall painting:
- Improved Adhesion: It helps the paint adhere better to the surface.
- Sealing the Surface: Primers seal porous drywall, preventing the paint from soaking in unevenly.
- Enhanced Color and Finish: A good primer can reduce the number of paint coats needed, providing a uniform finish.
How to Repair Imperfections Before Painting
Before applying paint, you should repair any surface imperfections to ensure the best possible outcome:
- Fill holes and cracks with joint compound using a putty knife.
- Allow the compound to dry completely, following the manufacturer’s instructions.
- Sand the repaired areas until they’re smooth and flush with the surrounding drywall.
- Clean the sanded areas to remove dust before priming.
Techniques for Effective Drywall Painting
Rolling vs. Brushing: What’s Best?
Both rolling and brushing have their places in drywall painting:
- Rolling: Best for large, flat areas, a roller can cover more space quickly and evenly.
- Brushing: Essential for edges and intricate areas where a roller might not reach.
Often, a combination of both techniques is recommended for the best results.
Applying the Right Amount of Paint
Applying too much paint can lead to drips and unevenness, while too little can result in patchy coverage. Follow these tips for the right application:
- Use a roller to apply paint in a W or M pattern.
- Work in small sections to avoid over-drying.
- Apply multiple thin coats rather than one thick coat to allow for even drying.
Tips for Achieving a Smooth Finish
To ensure a flawless finish for your drywall painting:
- Always sand between coats of paint. This removes imperfections and creates a smooth surface for the next layer.
- Use a high-quality paint for better coverage and fade resistance.
- Ensure your painting area is well-ventilated to promote quick drying and minimize drips.
Post-Paint Care and Maintenance
How to Clean and Store Your Painting Tools
Once your painting project is complete, proper care of your tools is crucial:
- Clean brushes and rollers immediately with warm, soapy water to prevent paint from hardening.
- Store paint in a cool, dry place with the lid securely fastened to avoid spoilage.
- Maintain your tools by drying them thoroughly before storing.
Protecting Your Newly Painted Drywall
To extend the life and appearance of your drywall paint:
- Allow the paint to cure fully as per the manufacturer’s recommendations.
- Consider using a topcoat for extra durability, especially in high-traffic areas.
- Keep furniture and fixtures away from the walls in newly painted rooms until paint sets properly.
Managing Touch-ups and Repairs
Even the best drywall painting jobs may need touch-ups. Here’s how to manage them effectively:
- Keep leftover paint for future touch-ups, labeling it clearly with the date and room color.
- For small nicks and scratches, use a small brush to apply paint carefully without getting it on the surrounding area.
- For larger areas needing repair, follow the same prep steps as your initial painting job.
Troubleshooting Common Drywall Painting Challenges
Fixing Common Painting Mistakes
It’s not uncommon to encounter a few hiccups during your drywall painting process. Here’s how to fix some common mistakes:
- Streaks or Roller Marks: Sand the area lightly, clean, and then repaint the section.
- Paint Drips: Use a stiff brush to smooth out drips while the paint is still wet.
- Uneven Color: Sometimes a second coat may be needed for complete coverage. Ensure even application.
Dealing with Paint Peeling and Fading
To manage issues with peeling or fading paint:
- Inspect the area to determine the cause, whether it’s moisture, poor quality paint, or inadequate prep.
- Strip away any peeling paint, sand the area, and repaint after priming if necessary.
- For fading, be sure to use quality paint rated for durability and UV resistance.
When to Seek Professional Help
If your drywall painting project seems overwhelming, it might be time to call in a professional. Here are some indicators:
- Severe structural damage to drywall requiring replacement.
- Large areas with complicated design elements such as textures or patterns.
- Inexperienced DIYers may not feel confident in achieving the desired results.